I had some fun today!
This is a base painting on 12 x 12 inch cardboard that I prepared using gesso on both sides.
Following the DVD Lesson by Staci Swider, I added blocks of color using some Liquitex Basics paint and then dripped diluted red acrylic paint on two sides. Gravity did the work for me.
Unfortunately, I got so involved in the next step, I forgot to take a photo. But, I can explain it!
Being in a relaxed state of mind, you gaze at the surface and imagine what is hiding there. I looked for awhile and found some simple flower shapes and used an oil pastel in a teal blue color to isolate them from the busy background. I knew what I wanted to find: flowers, so I could easily see them.
I'm sure if I wanted to find houses, or faces, or a city block, I would have seen them too. It's just
a matter of being clear in your intent.
The next step is to get some rather opaque paint on your flat brush and paint around your outlined objects. This is a whole lot of fun to do. Any color is fine, but I love the contrast you get with these primary colors against the white.
Following that, you just get a few oil pastels in coordinating colors and highlight as you wish inside and around your objects. These plants are rooted in soil and are living near a pond, so I painted those spaces in accordingly.
What fun!
Staci Swider is the artist who created this video lesson at ArtistsNetwork.tv. I watched and have tried to play with her techniques today. The video lesson is: Acrylic Painting Studio "Natural Compositions" with Staci Swider. Go here to see more stuff that is available
https://www.artistsnetwork.tv/catalog There are a lot of artists to learn from here. Lots of techniques to try. An excuse to try something new and rattle your brain for a few hours.
Go to
https://www.artistsnetwork.tv/catalog/ and search for Staci Swider to see her videos. You might have as much fun with her ideas as I did today. Happy St. Patrick's Day!
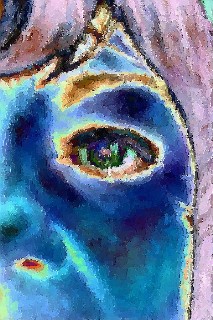
 On of the treats of my morning walk is to visit with these horses.
 They just look for grass to eat most of the time, but occasionally they look up and I get some eye contact.
  Way down at the end of the yard is this barn. I just love seeing its' bright red color and slightly worn look. It's like getting a prize just for going for a walk.